What back tension actually is
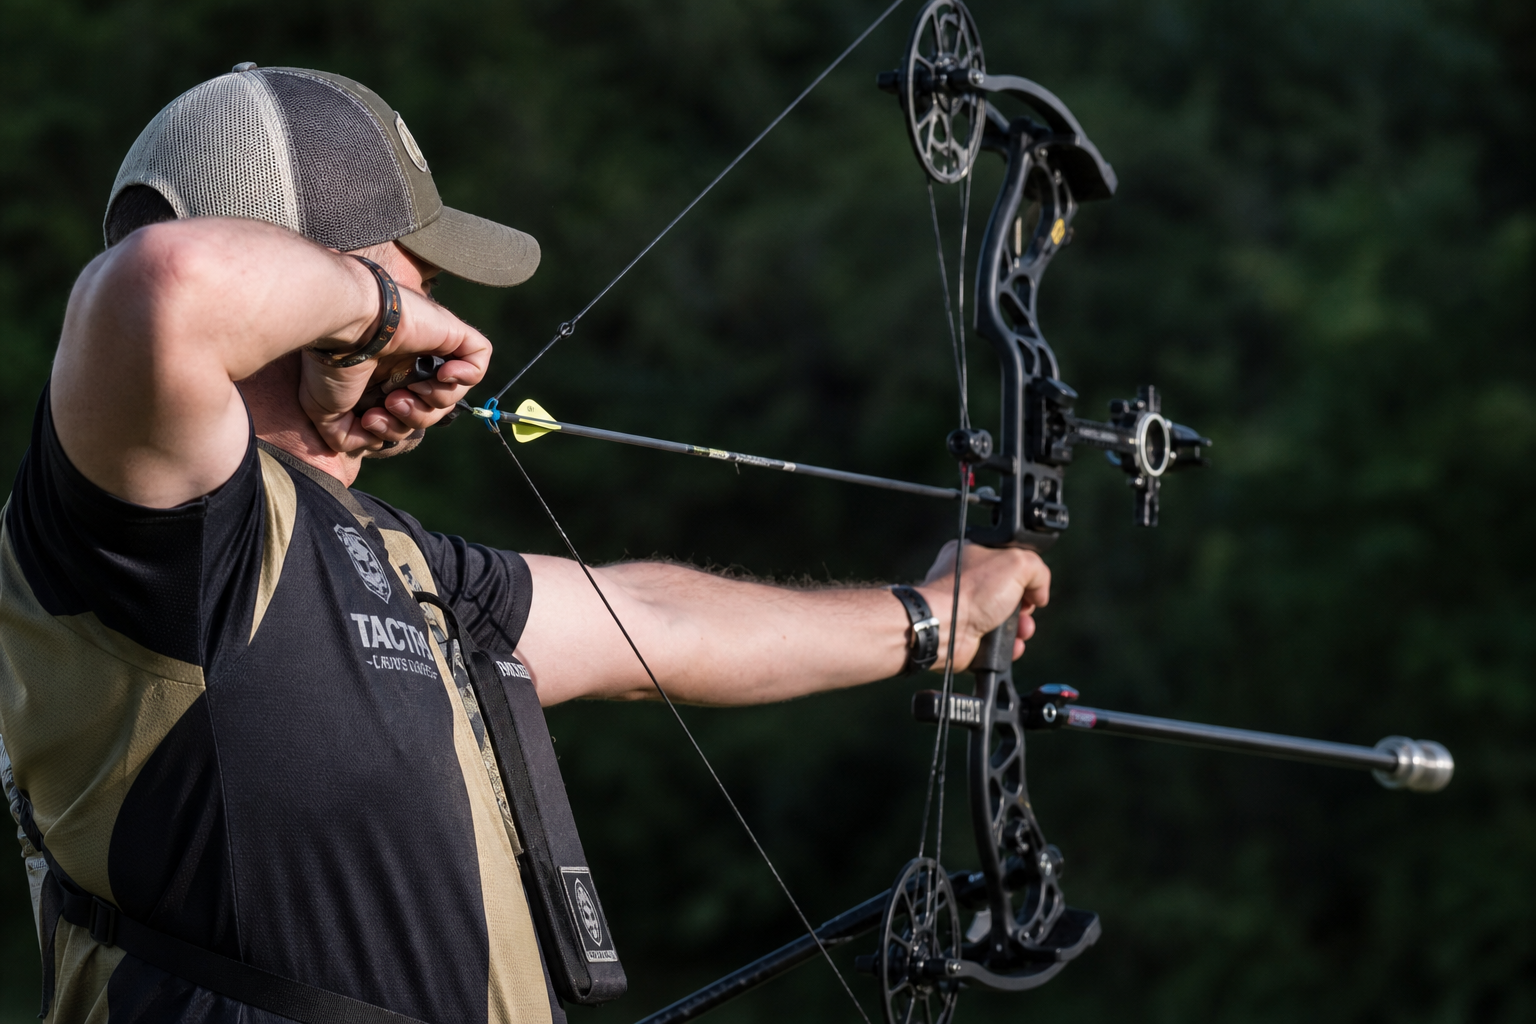
Back tension is the pulling force applied by the rhomboids, mid-trapezius, and rear deltoid to hold the drawing arm against the wall of the bow. In a well-set-up compound at full draw, the archer is holding the holding weight — call it 15 lb on a 70 lb bow at 80% let-off, or 21 lb at 70% let-off. Back tension is the amount of pulling effort the archer applies above that holding weight, into the wall.
At zero back tension, the archer is holding only the holding weight, arm bones stacked, no active pull. The bow is stable but the wall is not loaded. At high back tension, the archer is actively pulling into the wall at some multiple of the holding weight — 30, 40, 50 pounds — with the cams stopped against their let-off wall and the extra force absorbed by the string, cables, and limb stops.
The archer chooses where on that range to sit. The rest of this article is about the consequences of that choice.
The case for more back tension
The case is not weak. It is the reason nearly every modern coach recommends more, not less.
Physical enforcement of the wall. A firmly loaded wall is a mechanical feature, not a feeling. The bow's let-off wall exists as a hard mechanical stop — the cams have rotated to their draw stops and the drawing hand cannot move further back without dry-firing the bow. When back tension is high, the archer is committed against that stop; the shot cannot creep forward without the archer noticing and correcting. When back tension is low, the archer is floating short of the wall or hovering against it with no load, and small forward motions of the drawing hand are not resisted by anything. Creep — the slow forward drift of the drawing hand during aiming — becomes invisible to the archer and visible only to the arrow.
Weber's Law and detection thresholds. The nervous system's ability to detect a change in load follows Weber's Law: the smallest detectable change (the just-noticeable difference, or JND) is a roughly constant fraction of the baseline load. For proprioception at the shoulder girdle, that fraction is around 7%. At a 15 lb holding weight, the JND is about 1 lb. At 40 lb of active back tension, the JND climbs to about 2.8 lb — meaning shot-to-shot variations of 2 to 3 pounds of pull go entirely undetected by the archer. This is not a theoretical concern. The wall is not a force absorber. Every pound of variation in the archer's active pull above the holding weight still loads the string, cables, and limbs differently; the bow receives the actual instantaneous force at the moment of release, not a smoothed average. High back tension degrades detection precisely because JND scales with load. The archer pulling 40 lb of active tension will miss a 3 lb shot-to-shot variation that would have been clearly noticeable at 15 lb — and that variation is still changing the shot.
Consistency of the release event. For hinge and tension-activated releases, back tension is the release mechanism. Increased and continuous back tension is what rotates the hinge past its firing angle or what activates the tension release. In that mechanical family, more back tension is not optional — it is the input the release is calibrated to.
Stability of the drawing-side shoulder. Under load, the drawing-side scapula settles into its retracted position and stays there. Unloaded, it can float. A retracted, loaded scapula is a predictable geometric feature of the shot; a floating scapula is not.
The case for less back tension
The case is smaller, less institutional, and rarely stated cleanly. It exists anyway.
Fatigue accumulates faster at high load. Muscular fatigue is not linear with load. The postural muscles of the shoulder girdle — the rhomboids and mid-trapezius that produce back tension — are endurance-oriented but not designed to hold multiples of body-weight-scale isometric loads for long tournament sessions. At 20 lb of active pull, an archer can shoot a full 3D round or a 720 without meaningful degradation. At 40 lb of active pull, the same archer starts producing measurably different shots by the second half of the round — later shots ride against a fatigued and less repeatable pattern of muscle recruitment.
This is why some elite indoor shooters run comparatively light back-tension loads. They are not undershooting the mechanical argument for more; they are trading against the biological argument that muscles under sustained heavy isometric load do not produce the same output at shot 60 as they did at shot 1.
Tension inconsistencies at high load are larger in absolute terms. If the archer's back tension varies by ±10% between shots, a 20 lb baseline varies by ±2 lb and a 40 lb baseline varies by ±4 lb. That variation is real force acting on the drawing hand, and it is not filtered out by the wall — it moves the drawing hand relative to the anchor. Higher baseline load means a larger absolute variation for the same percentage of consistency error. Weber's Law says the archer will feel a bigger absolute error the same way they feel a smaller one at low load, but the arrow does not care about how the error was felt. It cares about how big it was.
Whole-body tension recruitment. High back tension does not stay in the back. It recruits the neck, the jaw, the bow-arm shoulder, and — for many archers — the release hand and grip. Some of that recruitment is helpful (the drawing-side shoulder), most of it is not (the bow arm and hand). A relaxed frame with modest back tension is easier to keep locally quiet at the joints that matter for accuracy. A frame under high back tension is louder everywhere.
The aiming task prefers a relaxed body. This is the least discussed point in the whole debate. Aiming is a fine visual-motor task requiring stable pin float and precise micro-corrections at the bow arm. Both are degraded when the body is under high isometric load. Anyone who has aimed a firearm knows that a tight grip and a locked frame produce a wobblier sight picture than a relaxed hold — the muscles under load produce small tremors that the eye reads as pin movement. Archery is no different. The archer holding 20 lb of back tension will typically see a smaller, calmer pin float than the same archer holding 40 lb.
Where the debate actually lives
The debate is not more versus less. It is how much and enforced by what.
Both camps agree the wall must be defended against creep. They disagree about who defends it. The high-tension camp defends it mechanically — enough load against the stop that the wall itself prevents forward drift. The low-tension camp defends it proprioceptively — a light load, but attention on the loading, and any drop in load is corrected by conscious re-loading before the shot breaks.
The mechanical enforcement is more foolproof. The proprioceptive enforcement is less fatiguing and produces a quieter body. Neither is stupid. The choice is between two different sources of error, and neither source is zero.
Tension inconsistencies — what actually changes shot to shot
Assume the archer has chosen a target back-tension load — 25 lb, say, above a 15 lb holding weight for a total wall load of 40 lb against a 70# / 80% let-off bow. What actually varies between shots?
The load itself varies. Not the holding weight — that is fixed by the cam geometry — but the amount of active pull the archer produces on top of it. In a good session, that active pull is repeatable to within ±10%. In a fatigued session, ±25% or worse. In a stressed session under match pressure, the standard deviation grows and skew appears — shots trend one direction (usually toward less back tension, because the fatigued rhomboids release before the shot commands them to).
The distribution of the load across muscle groups varies too. A shot fired with the retraction coming primarily from the rhomboids is not mechanically identical to a shot fired with the retraction coming primarily from the rear deltoid, even if the total pounds of pull are the same. Rhomboid-dominant retraction seats the scapula against the ribcage. Rear-deltoid-dominant retraction rotates the shoulder joint. The bow does not experience these as the same shot.
And the rate at which the load is applied through the shot varies. Some shots are fired at a stable plateau of back tension; some are fired on a rising load (still pulling into the wall as the release breaks); some are fired on a falling load (the release breaks as the archer is beginning to give up the pull). These three shot profiles produce different follow-throughs and different arrow behavior even when the peak load is identical.
Higher baseline back tension does not eliminate any of these variations. It rescales them, and it delegates the wall enforcement to the mechanics — which is a real benefit — but it does not make the shot more consistent in the ways the load itself varies.
Fatigue and the tournament shape of the problem
A single shot is not the interesting case. The interesting case is the 60th shot of the round, or the 72nd, or — for 3D — the 40th target of a long day.
Muscular fatigue in isometric holding follows a predictable curve. The first 20% of the round shows almost no degradation. The middle 60% shows a slow linear rise in the standard deviation of the back-tension load. The final 20% shows a compressed range — the archer can no longer produce the peak load they produced at shot 1, and they now shoot at whatever load their fatigued muscles will hold. Skilled archers manage this by pre-fatiguing lightly before competition, hydrating aggressively, and — critically — choosing a back-tension load that they can produce at shot 60 as easily as at shot 1.
The high-tension archer must budget for the fact that their shot 60 will not be their shot 1. The low-tension archer is at less risk from this specific decay curve, but at more risk from the creep-going-undetected failure mode. Both archers face a version of the same problem: the shot they can execute at their peak is not the shot they can execute at their trough, and the trough is what shows up in the second half of the score.
Full-body relaxed versus under tension — the aiming trade-off
Consider two archers, otherwise identical, at full draw on the same target.
Archer A is under high back tension and generally under high whole-body tension — locked bow arm, tight grip, tense neck, jaw slightly clenched. Their wall is defended mechanically. Their release is going to break cleanly against a firm stop. Their pin float covers roughly the width of the blue ring — call it 8 inches of wandering at 40 yards — and it is jittery: small high-frequency oscillations riding on top of the drift.
Archer B is under modest back tension and generally relaxed everywhere else — soft bow-hand grip, quiet jaw, neutral neck, only the drawing-side back and shoulder loaded. Their wall is defended by attention. Their pin float is tighter, closer to the red ring — 4 inches or so — and it is smooth: a slow figure-eight or a slow lazy drift with none of the high-frequency jitter.
Which of these archers scores higher? The question does not have a general answer. Under match pressure, Archer A's creep-proof shot is a real advantage. Under a long round, Archer B's fatigue-proof shot and calmer pin float are a real advantage. In competition, Archer A wins if the round is short and pressure-heavy; Archer B wins if the round is long and pressure-moderate. Most tournaments are some mix of both, and most archers end up somewhere between the two profiles.
Target panic and back tension
Back tension interacts with target panic in a specific way that deserves its own paragraph.
The anticipatory motor program that drives target panic — the pre-flinch program described in Target panic — understood — fires against a cue. For most archers, that cue is the pin approaching center. The pre-flinch usually presents as a Type I collapse of back tension (the drawing hand creeps forward, the shot leaves early) or as a Type II freeze (the shot cannot complete).
High back tension makes the Type I collapse mechanically harder. The wall is loaded; the drawing hand cannot creep forward without a large, conscious change in muscle output. This is the strongest case for high back tension in a target-panic context: it takes the specific failure mode of the pre-flinch program off the table by making that failure mode require more muscle action, not less. The Type I archer under high back tension who tries to collapse forward has to actively let go of the wall — an action their conscious mind will feel and can override.
High back tension does not, however, help the Type II freeze. A frozen archer holding 40 lb of active pull is still frozen; they are just frozen against a firm wall instead of a soft one. And it may make the Type II freeze slightly worse, because the anticipatory arousal that drives the freeze is proportional to the total muscular tension in the frame — a body under high load reads more of its own state as arousal, and can escalate the freeze accordingly.
The clean summary: high back tension helps against collapse-type target panic and does not help — and may slightly hurt — against freeze-type target panic. If the archer's presentation is a bow-arm dip or a back-tension collapse at the moment of ignition, more back tension is one of the mechanical tools available. If the presentation is a freeze off-target, more back tension is not the tool.
The Axial position
Above that range, every additional pound raises the JND, making variation harder to detect while simultaneously increasing the absolute size of the variation — and none of that force disappears at the wall. Below that range, the wall is genuinely undefended and proprioception cannot catch every creep event reliably. The 2–4 lb window is narrow by design: it is the smallest load that enforces position without degrading the archer's ability to feel what the shot is doing.
The right number is not the biggest number. It is the smallest number that keeps the wall defended and the release mechanically clean.
Published 2026-07-09 · Axial Bowstrings